
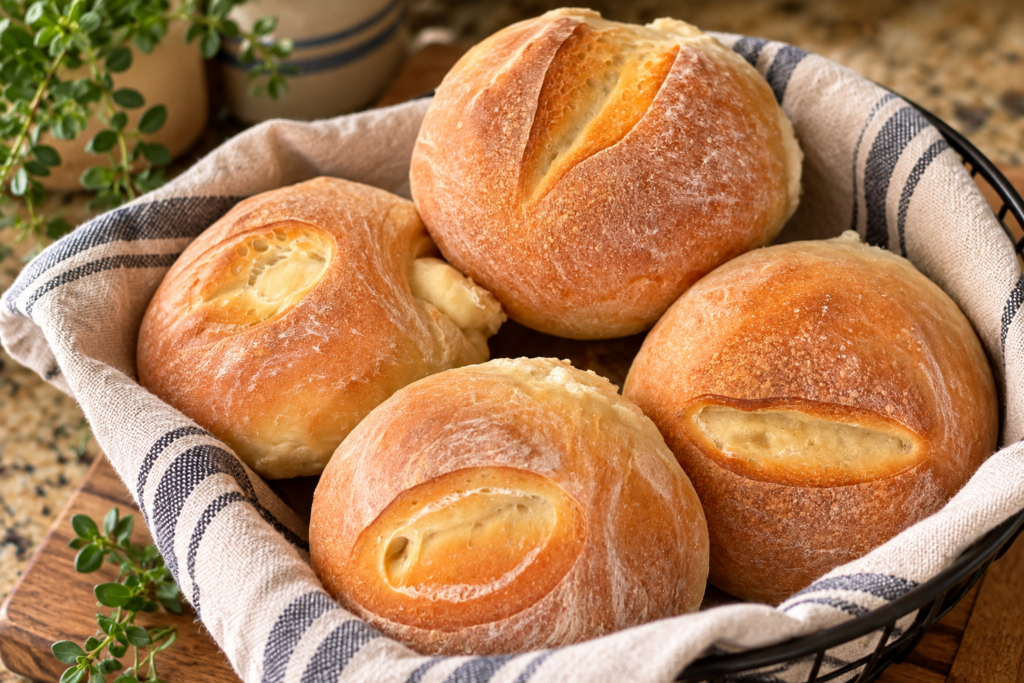
These homemade Italian semolina rolls are golden on the outside, soft on the inside, and surprisingly easy to make. Using a combination of Italian 00 flour and semolina flour, the dough comes together beautifully in a stand mixer. Make them larger for sandwiches or smaller to serve alongside a bowl of homemade soup.
There’s something satisfying about pulling a tray of homemade bread rolls from the oven, especially when they’re this easy to make.
I’ve been experimenting with homemade breads lately, and these Italian semolina rolls are definitely a recipe worth keeping. They have a lovely golden crust, a soft interior, and that wonderful flavor you only get from freshly baked bread.
What I particularly like about this recipe is how easily the dough comes together. I make mine in my KitchenAid stand mixer using the dough hook, and it does nearly all the work.
The dough is soft, smooth, and easy to handle. There’s no complicated shaping technique or special bread-making experience required.
If you’ve been wanting to try your hand at homemade bread, these rolls are a wonderful place to start.
And they’re versatile, too. I made some larger for sandwiches and shaped the others into smaller dinner rolls to serve alongside homemade soup. Both turned out beautifully.
Jump to RecipeWhy You’ll Love These Homemade Italian Rolls
Sometimes the simplest recipes are the ones we return to most often.
These homemade Italian semolina rolls are a good example. They use just a handful of ingredients and don’t require any complicated bread-making techniques.
- Beginner-friendly. The dough comes together easily and is simple to work with, even if you’re just learning to bake bread.
- Made in a stand mixer. Your mixer does the kneading, saving time and effort.
- Soft inside with a golden crust. Perfect for sandwiches without being overly heavy or dense.
- Two ways to serve them. Make larger sandwich rolls or smaller dinner rolls.
- Simple ingredients. Nothing fancy, just good homemade bread made from scratch.
- Freezer-friendly. Make a batch and save the extras for another meal.
And while homemade bread does require some rising time, most of that time is hands-off.
What Is Semolina Flour?
Semolina flour is made from durum wheat, a hard variety of wheat commonly used in Italian breads and pasta.
It has a naturally golden color and a slightly nutty flavor that makes it particularly nice for homemade bread.
For this recipe, we’re using two types of flour.
Italian 00 flour is finely milled and helps create a smooth, soft dough.
Semolina flour contributes flavor, color, and structure.
Together, they produce a beautiful homemade roll with a tender interior and a lovely golden crust.
A Note About Semolina Flour
For the best results, I recommend using finely milled semolina flour.
If you’re using a coarser semolina, you may need to allow a little extra resting time so the flour can fully absorb the water.
Semolina and semolina rimacinata aren’t quite the same thing. Rimacinata is more finely milled and is particularly well suited for bread baking.
Ingredients You’ll Need
One of the things I enjoy about making homemade bread is how a few simple ingredients can turn into something so useful.
Here’s what you’ll need for these Italian semolina rolls.
Italian 00 Flour
This finely milled flour creates a smooth dough and helps give the rolls their soft texture.
Semolina Flour
Semolina adds a lovely golden color, a slightly nutty flavor, and structure to the finished rolls.
Instant Yeast
Instant yeast makes the process simple because it can be mixed directly into the dry ingredients.
Sugar or Honey
A small amount adds a touch of sweetness and complements the flavor of the bread.
Salt
Salt is essential for bringing out the flavor of homemade bread.
Warm Water
The water hydrates the flour and brings the dough together.
I add the entire amount of water at once. There’s no need to hold any back. The dough comes together beautifully.
Olive Oil
Olive oil adds flavor and helps keep the rolls tender.
You’ll find the complete ingredient measurements in the printable recipe card below.
How to Make Homemade Italian Semolina Rolls
These rolls are particularly easy to make using a stand mixer.
I use my KitchenAid with the dough hook attachment, and it takes care of the kneading for me.
Step 1: Combine the Ingredients
Add the Italian 00 flour, semolina flour, instant yeast, sugar, and salt to the bowl of your stand mixer.
Give the dry ingredients a quick mix to combine.
Add the warm water and olive oil.
Using the dough hook, mix on low speed until everything comes together into a soft dough.
My tip: Add all the water at once. I found that the dough comes together beautifully without needing to reserve any.
Step 2: Let the Dough Rest
Cover the mixing bowl and allow the dough to rest for approximately 15 minutes.
This short resting period gives the flour time to absorb the water and makes the dough easier to knead.
If you’re using coarser semolina flour, you may want to extend the resting time to 25–30 minutes.
Step 3: Knead the Dough
With the dough hook attached, knead the dough on KitchenAid speed 2 for approximately 5–7 minutes.
The dough should become smooth, soft, and elastic.
One of the things I particularly like about this recipe is how manageable the dough is.
It comes together easily without becoming overly stiff or difficult to work with.
You shouldn’t need to add much, if any, additional flour.
If you don’t have a stand mixer, you can knead the dough by hand for approximately 8–10 minutes.
Step 4: Let the Dough Rise
Transfer the dough to a lightly oiled bowl and cover.
Allow it to rise in a warm, draft-free location for approximately 60–90 minutes, or until doubled in size.
Remember that rising times can vary depending on the temperature of your kitchen.
It’s better to watch the dough than to rely strictly on the clock.
Step 5: Shape the Rolls
Once the dough has doubled, gently turn it out onto a clean work surface.
Divide the dough into equal portions.
For larger sandwich rolls, divide it into eight pieces.
Shape each piece into a smooth, slightly oblong roll, approximately 5–6 inches long.
For smaller dinner rolls, divide the dough into more portions and shape them into smaller rounds or ovals.
Place the shaped rolls on a parchment-lined baking sheet, leaving enough room between them to rise.
Step 6: Score the Rolls (Optional)
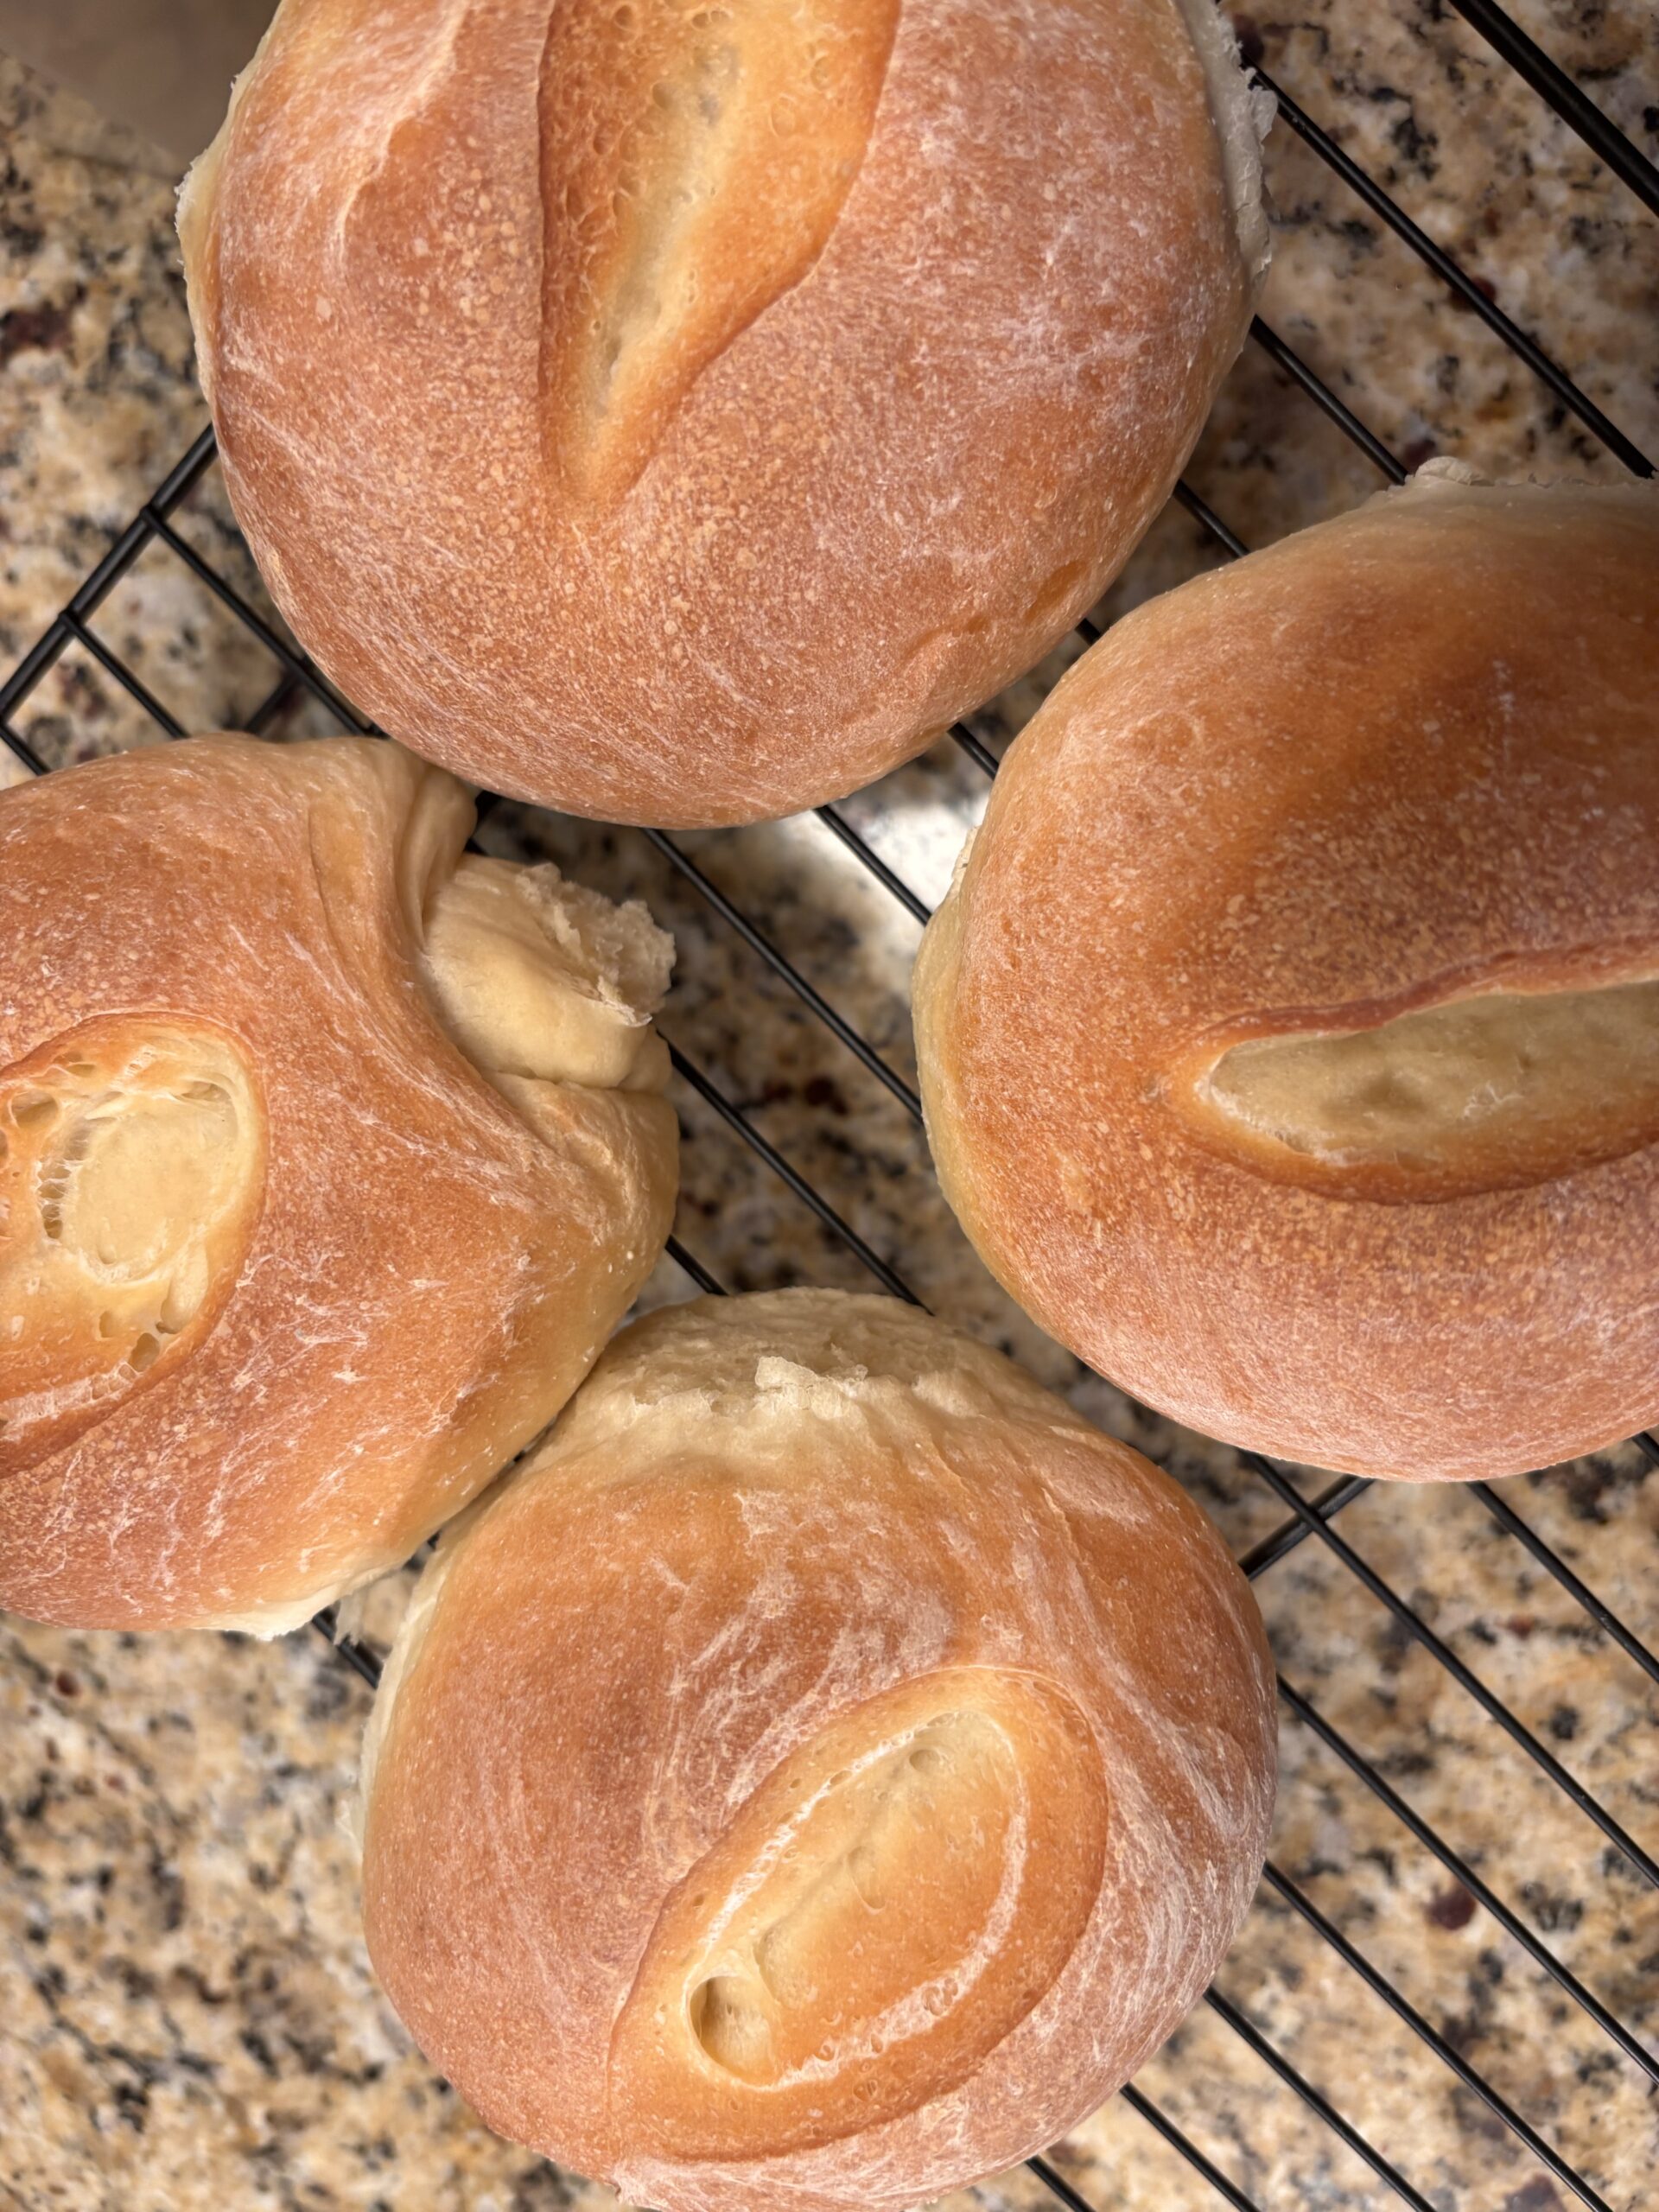
For my larger sandwich rolls, I made a shallow slash across the top.
This gives them that traditional Italian bakery appearance.
For the smaller dinner rolls, I skipped the scoring altogether.
Both versions turned out beautifully, so this step is entirely optional.
Use a sharp knife or bread lame to make a shallow cut approximately ¼ inch deep.
Step 7: Let the Rolls Rise Again
Cover the shaped rolls loosely and allow them to rise for approximately 35–50 minutes, or until noticeably puffy.
While they’re rising, preheat your oven to 425°F.
Step 8: Bake Until Golden
Bake the rolls for approximately 15–18 minutes, or until beautifully golden brown.
Smaller dinner rolls may finish baking sooner, so begin checking them a little earlier.
Transfer the finished rolls to a wire rack and allow them to cool before slicing.
And that’s it!
Beautiful homemade Italian semolina rolls without a complicated bread-making process.
Make Sandwich Rolls or Smaller Dinner Rolls
One of the things I particularly like about this recipe is that you can use the same dough for two different purposes.
I made some of my rolls larger for sandwiches and shaped the others into smaller dinner rolls to serve with homemade soup.
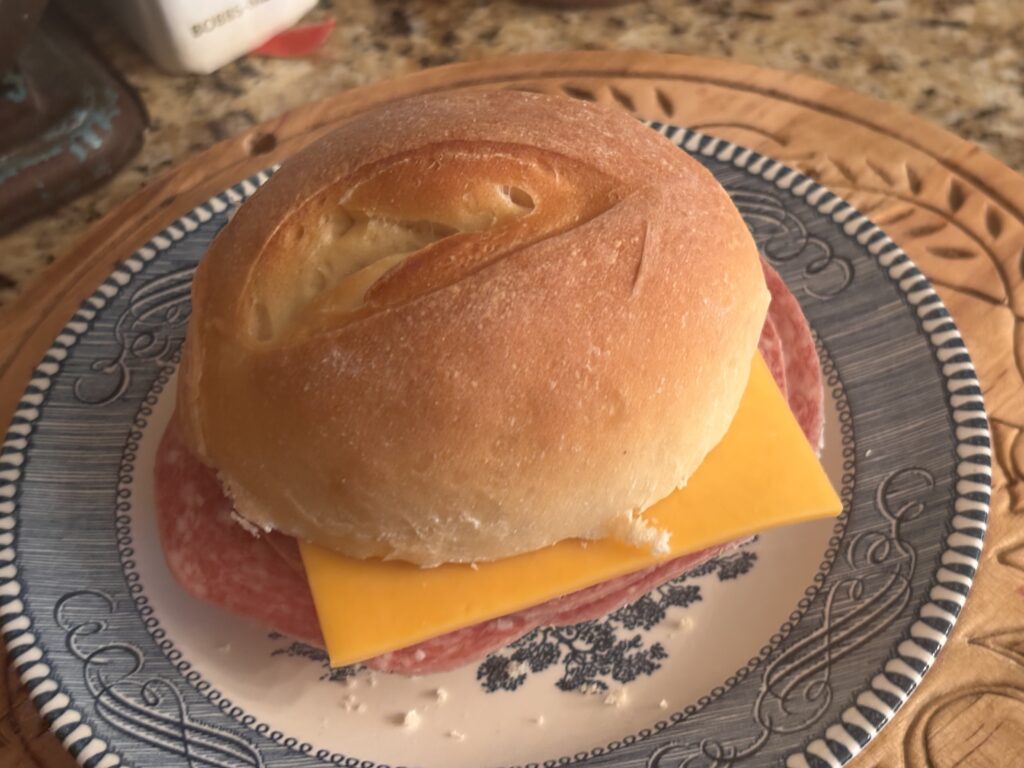
The larger rolls are wonderful for Italian beef sandwiches, meatball subs, sausage and peppers, or even a simple ham and cheese sandwich.
The smaller rolls are just right alongside a bowl of homemade soup or a hearty family supper.
For the sandwich rolls, I scored the tops before baking.
I left the smaller dinner rolls unscored, and they turned out just as nicely.
There’s no need to make two separate batches of dough.
Simply divide and shape the rolls according to how you plan to serve them.
Kitchen Tip: If you’re making different-sized rolls in the same batch, keep an eye on the smaller ones. They may finish baking before the larger sandwich rolls.
A Great Homemade Bread Recipe for Beginners
If you’ve been wanting to learn how to make homemade bread, this is a good recipe to practice with.
Some bread doughs can be sticky, difficult to handle, or require more experience to shape properly.
This dough is wonderfully manageable.
It comes together into a soft, smooth dough that is easy to work with, especially when using a stand mixer.
There’s no complicated folding technique, no overnight fermentation, and no special equipment beyond a mixing bowl and baking sheet.
And don’t worry if your rolls aren’t perfectly shaped.
Homemade bread doesn’t have to look like it came from a bakery to taste wonderful.
The more often you work with bread dough, the more comfortable you’ll become with how it should look and feel.
Sometimes the best way to learn a new kitchen skill is simply to start making something.
Tips for Making the Best Italian Semolina Rolls
Use a Kitchen Scale
Whenever possible, weigh your flour rather than measuring it by volume.
It’s easy to accidentally add too much flour when using measuring cups, which can result in heavier rolls.
Don’t Add Too Much Extra Flour
This dough should feel soft and slightly tacky.
Resist the temptation to add extra flour unless the dough is genuinely too wet to handle.
Adding too much flour can make the finished rolls dense.
Give the Flour Time to Absorb the Water
The short resting period helps hydrate the semolina and makes the dough easier to work with.
Let the Dough Rise Properly
Rather than watching the clock, look for dough that has doubled in size during the first rise.
During the second rise, the shaped rolls should look noticeably puffy.
Watch the Rolls While Baking
Every oven is a little different.
Begin checking the rolls a few minutes before the suggested baking time, especially if you’ve made smaller dinner rolls.
What to Serve With Italian Semolina Rolls
These rolls are useful for so many everyday meals.
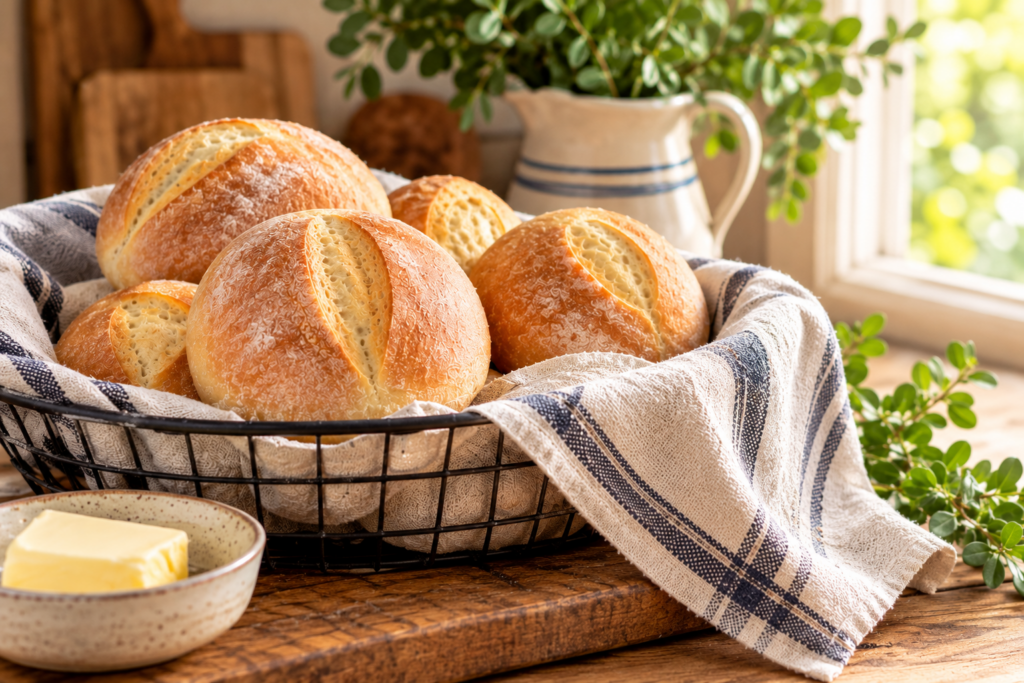
They’re sturdy enough for hearty sandwiches but soft enough to enjoy with a little butter.
Some of my favorite ways to serve them include Italian beef sandwiches, meatball subs, sausage and peppers, and alongside homemade soups or stews.
They’re also wonderful sliced and lightly toasted.
And sometimes, there’s nothing better than a warm homemade roll with butter.
How to Store Homemade Italian Semolina Rolls
Homemade bread is always best enjoyed fresh, but these rolls can be stored for later.
Room Temperature
Allow the rolls to cool completely before storing them in an airtight container or bread bag.
They’ll generally keep for approximately 2–3 days at room temperature.
Freezer
These rolls freeze well.
Once completely cooled, place them in a freezer-safe bag and remove as much air as possible.
Freeze for up to three months for best quality.
To Reheat
Allow frozen rolls to thaw at room temperature.
If you’d like to refresh the crust, warm them briefly in a 350°F oven until heated through.
Frequently Asked Questions
Can I make Italian semolina rolls without a stand mixer?
Yes. Although I prefer using my KitchenAid stand mixer, you can knead the dough by hand.
Plan on approximately 8–10 minutes of hand kneading, or until the dough becomes smooth and elastic.
Can I use all-purpose flour instead of Italian 00 flour?
You can experiment with all-purpose flour, but the finished texture may be slightly different.
I recommend using Italian 00 flour for the recipe as written because that’s what I’ve tested successfully.
Do I have to score the rolls?
No.
I scored my larger sandwich rolls but left the smaller dinner rolls unscored.
Both worked well.
Can I make smaller dinner rolls instead of sandwich rolls?
Absolutely.
Simply divide the dough into smaller portions and shape them into rounds or small ovals.
Remember that smaller rolls may require less baking time.
Can I freeze these homemade rolls?
Yes.
Cool them completely before placing them in freezer-safe bags.
They can be frozen for up to three months for best quality.
Homemade Italian Semolina Rolls
Ingredients
Equipment
Method
- Mix the dough. In the bowl of a stand mixer, combine the 00 flour, semolina flour, instant yeast, sugar, and salt. Add all the warm water and olive oil. Using the dough hook, mix on low speed until a soft dough forms.
- Rest the dough. Cover the bowl and allow the dough to rest for 15 minutes.
- Knead. Using the dough hook, knead on KitchenAid speed 2 for approximately 5–7 minutes, until the dough is smooth, soft, and elastic.
- First rise. Transfer the dough to a lightly oiled bowl. Cover and let rise in a warm place for 60–90 minutes, or until doubled in size.
- Shape the rolls. Turn the dough onto a clean work surface. Divide into 8 equal portions for sandwich rolls or 10–12 portions for smaller dinner rolls. Shape into smooth rounds or slightly oblong rolls. Place on a parchment-lined baking sheet.
- Score if desired. For larger sandwich rolls, make one shallow slash approximately 1/4 inch deep across the top. Smaller dinner rolls can be left unscored.
- Second rise. Cover loosely and let rise for 35–50 minutes, until noticeably puffy. Meanwhile, preheat the oven to 425°F.
- Bake. Bake at 425°F for approximately 15–18 minutes, until golden brown. Begin checking smaller rolls a few minutes earlier.
- Cool. Transfer the rolls to a wire rack and allow them to cool before slicing.
Notes
A Little More From My Kitchen
There’s always something happening in the kitchen here at From Hearth to Home.
Some weeks it’s a new homemade bread recipe, other times it’s a simple family supper, a practical homemaking tip, or a little encouragement for making everyday life at home easier.
If you enjoy good food made with ordinary ingredients and practical ideas for caring for your home, I’d love to have you join me.
Sign up for The Home Journal, my weekly Friday email, where I share recipes, homemaking ideas, and little things worth passing along.
Simple homemaking for real life. Delivered to your inbox each Friday.
Homemade Bread Is Worth the Effort
There’s something special about making your own bread, even when it’s something as simple as a batch of sandwich rolls.
It doesn’t have to be complicated, and you certainly don’t need to be an experienced bread baker to get good results.
These Italian semolina rolls are a perfect example.
The dough comes together easily, the stand mixer handles the kneading, and you end up with beautiful homemade rolls that can be used for sandwiches or served alongside supper.
It’s the kind of simple, useful recipe I enjoy having in my kitchen.
And sometimes, learning to make something yourself is just as satisfying as the finished result.
From my hearth to yours,
Becky
Leave a Reply