
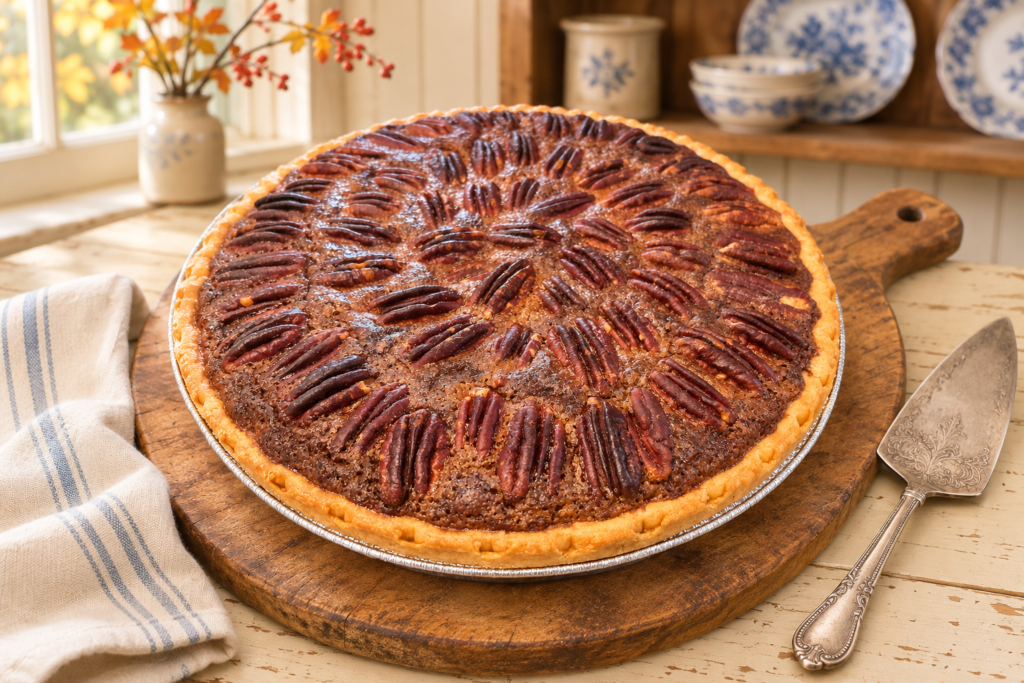
My husband has always loved pecan pie. Me? I love pecans, but the filling in the pies I’d tried was always a little too gooey for my liking. It was the texture that kept me from enjoying it.
Then I came across King Arthur Baking’s Old-Fashioned Pecan Pie. The filling was made with brown sugar instead of corn syrup, and that caught my attention. I thought I’d give it a try, mostly because I knew my husband would enjoy having pecan pie.
I followed their recipe as written, and it turned out fantastic.
It still has a little of that familiar gooeyness, but the filling is more custardy, with a buttery brown sugar flavor and plenty of pecans. For me, that made all the difference.
The other pleasant surprise was how easily it came together. I don’t love baking, so when I find a pie I enjoy making as well as eating, that’s worth keeping. This has become the pecan pie I want to make for our family.
A Simple Pie Worth Making Again
Some desserts require a fair amount of fussing. This one comes together with a bowl, a whisk, and ordinary baking ingredients.
You melt the butter, mix the filling, pour it into an unbaked crust, and add the pecans on top. There’s no syrup to cook and no mixer required.
The recipe is from Liz Pearl at King Arthur Baking. I’m sharing it here with credit to the original source, along with my experience making it and a few baking notes.
What Is the Filling Like?
If you love pecans but don’t particularly enjoy the very gooey filling in some pecan pies, this is another version to try.
It isn’t completely firm or free of gooeyness. The filling is still soft and rich, but I found it more custardy and much more enjoyable than the pecan pies I’d had before. The nuts add a nice contrast to that soft filling.
Brown sugar takes the place of corn syrup in this recipe. It’s still a sweet, rich dessert, but the texture is what won me over.
A Frozen Pie Crust Works Well
I used a Marie Callender’s frozen pie crust, which is my favorite store-bought pie crust. It worked well and made an already easy pie even simpler.
If you enjoy making homemade pastry, you can certainly use your own crust. But if you’re short on time—or just don’t feel like making pie dough—a frozen shell is a practical option.
Use an unbaked 9-inch pie shell with enough room for the filling, and follow the package directions for preparing it for a filled pie. You don’t need to prebake the crust for this recipe.
For me, being able to use a frozen crust makes this an easy dessert to return to whenever I want to make my husband a pie.
Watch the Pie Toward the End of Baking
My pie baked for about 47–48 minutes, and it was quite deeply browned by then. It tasted good, but I wouldn’t have wanted it any darker.
I recommend beginning to check at 45 minutes.
Look for a puffed, set top with just a slight wobble in the center. The middle shouldn’t look loose or slosh when you gently move the pan.
If the crust edges are browning too quickly, protect them with foil. If the pecans or the whole top are getting too dark before the filling has set, loosely tent the pie with foil and continue baking.
Join Me in the Home Journal
If you enjoy dependable family recipes and practical ways to make the most of your home, I’d love to have you join my Home Journal.
Each Friday, I share a note from my home, along with recipes, household tips, and encouragement for ordinary days.
Sign up below to receive the Home Journal.
Old-Fashioned Pecan Pie Recipe
A buttery brown sugar pecan pie with plenty of pecans and a soft, custardy filling. An unbaked frozen pie crust makes it especially easy to put together.
Recipe from King Arthur Baking, by Liz Pearl. I followed the ingredient quantities as written. The directions below are written in my own words and include my baking notes.
Yield: One 9-inch pie, about 8 slices
Oven temperature: 375°F
Bake time: Approximately 45–50 minutes; begin checking at 45 minutes
Cooling: Cool completely before slicing, finishing in the refrigerator
Ingredients
- 1 unbaked 9-inch pie crust—I used Marie Callender’s frozen pie crust
- ½ cup unsalted butter, melted and cooled
- ¼ cup all-purpose flour
- 2 cups plus 2 tablespoons packed light brown sugar
- ½ teaspoon table salt
- 6 tablespoons milk
- 3 large eggs, lightly beaten
- 2 teaspoons cider vinegar or white vinegar
- 2 teaspoons vanilla extract
- ½ cup chopped pecans
- 1 cup pecan halves
Instructions
- Prepare the oven and crust. Preheat the oven to 375°F. Fit your unbaked crust into a 9-inch pie plate, or prepare your frozen pie shell according to its package directions for a filled pie.
- Mix the dry ingredients. In a large bowl, stir together the flour, brown sugar, and salt, breaking up any brown sugar lumps.
- Add the remaining filling ingredients. Whisk in the milk and eggs until well combined. Stir in the vinegar and vanilla, followed by the cooled melted butter and chopped pecans.
- Fill the crust. Pour the filling into the unbaked pie shell. Arrange the pecan halves over the top.
- Bake. Bake for approximately 45–50 minutes, beginning to check at 45 minutes. The top should be puffed and set, with only a slight wobble in the center. Shield the crust edges with foil if needed, or loosely tent the whole pie if the top is browning too quickly.
- Cool before slicing. Place the pie on a wire rack. Refrigerate within two hours of baking, even if it is still slightly warm, and let it finish cooling in the refrigerator. The filling will firm as it cools.
Recipe Notes
My crust choice: I used Marie Callender’s frozen pie crust. A homemade unbaked crust can also be used.
Watch the baking time: My pie was deeply browned at about 47–48 minutes. Start checking at 45 minutes and judge doneness by the filling as well as the color.
Recipe credit: This recipe comes from Liz Pearl at King Arthur Baking. You can find the original recipe here.
Let the Filling Set Before Cutting
It’s tempting to cut into a pie while it’s still warm, but giving this one time to cool makes a difference. A warm slice will have a softer filling.
Let it cool on a rack initially, then move it to the refrigerator within two hours of baking to finish cooling. You don’t need to leave it on the counter until it’s completely cold.
This also makes it a convenient dessert to prepare the day before you plan to serve it. Once chilled, cover and refrigerate until needed.
Serve it on its own or with a little whipped cream or vanilla ice cream.
How to Store Pecan Pie
Because this pie contains eggs and milk, keep it refrigerated.
- Refrigerate within two hours of baking.
- Cover once chilled.
- Store at 40°F or below and enjoy within 3–4 days.
- For longer storage, freeze for 1–2 months for best quality.
- Thaw frozen pie in the refrigerator.
For more information, see the FoodSafety.gov Cold Food Storage Chart and Ask Extension’s pecan pie storage guidance.
A Keeper for Our Kitchen
I made this pie thinking mostly about how much my husband enjoys pecan pie. I didn’t expect to enjoy it as much as I did.
The more custardy filling made the difference for me, and finding out how quickly it came together was a bonus. This is a recipe I’ll happily make again—and I won’t feel the least bit bad about reaching for a frozen pie crust to do it.
from my kitchen to yours,
Becky
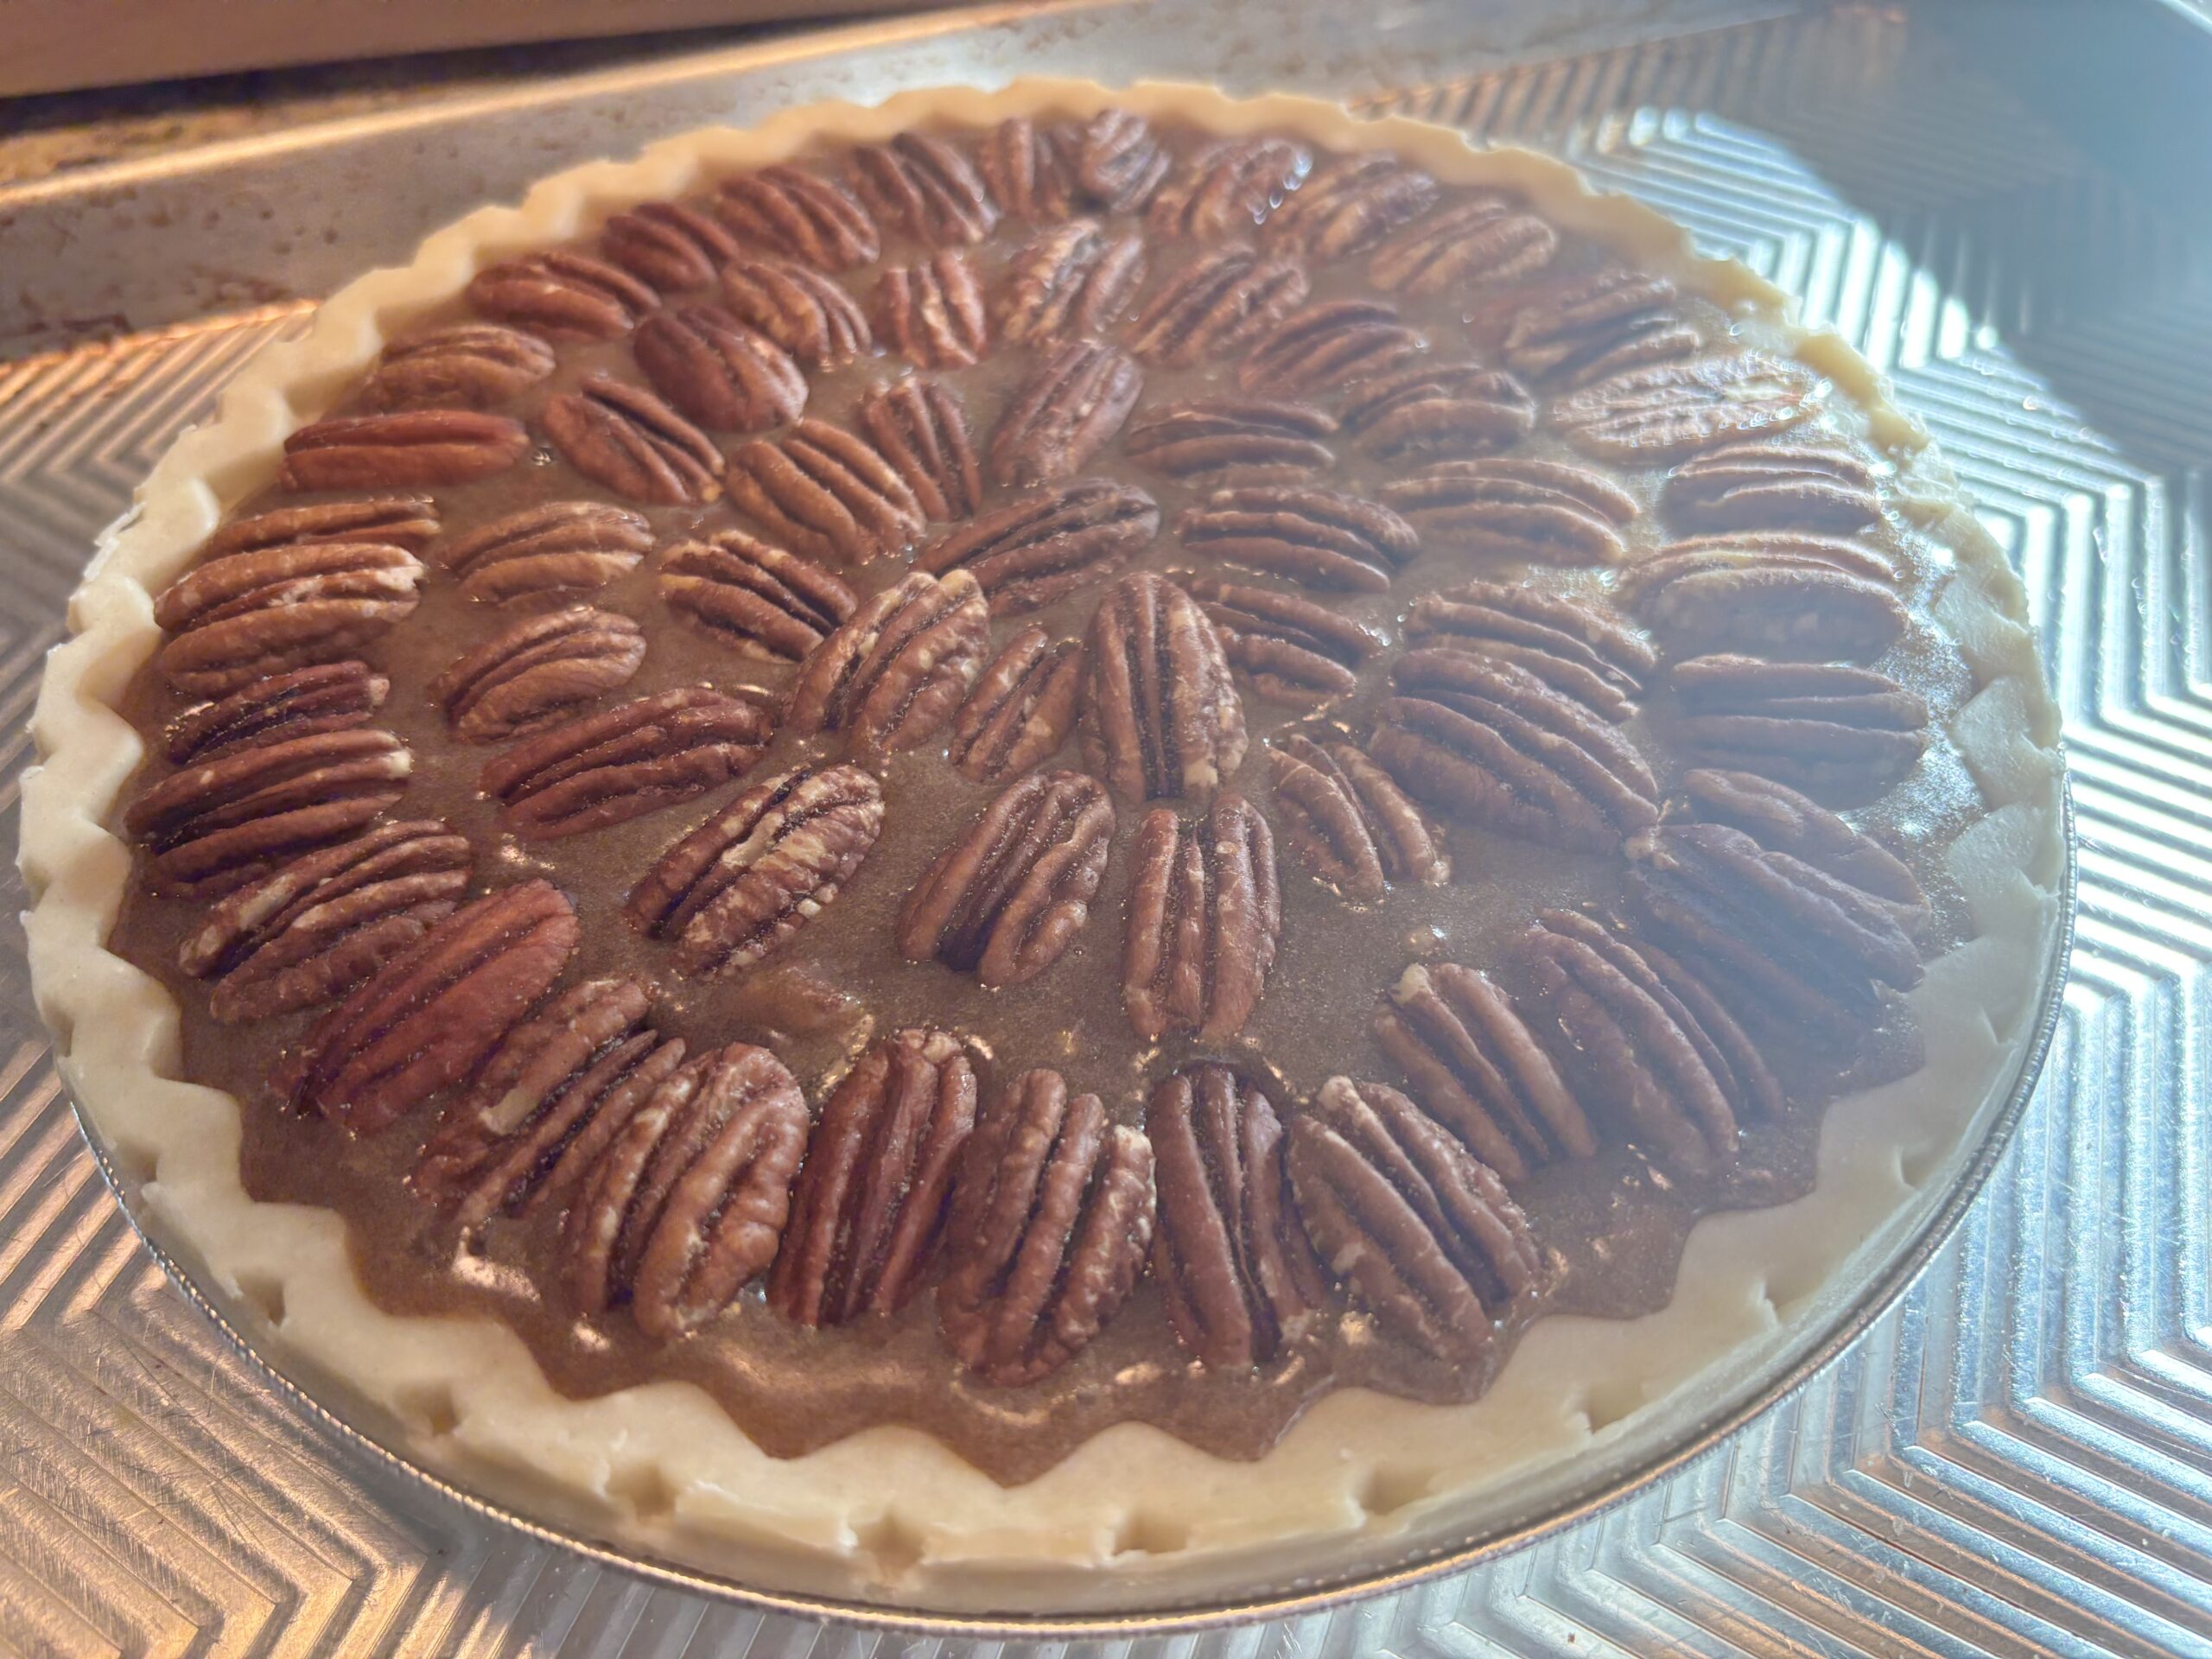
Old Fashion Pecan Pie Recipe
Ingredients
Method
- Preheat oven to 375℉ Prepare your frozen pie crust according to package directions for a filled pie. Place pie crust on cookie sheet.
- Mix all the dry ingredients together, breaking up any brown sugar clumps.
- Whisk in the milk and eggs until combined, stir in vanilla & vinegar, followed by cooled melted butter and chopped pecans.
- Fill the pie crust. Arrange pecan halves over the top.
- Bake for approx. 45-50 minutes, check at 45 minutes. The top should be puffed and set, with only a slight wobble in the center.
- Cool before slicing. Place pie on wire rack. refrigerate within 2 hours of baking, let it finish cooling in the fridge. The filling will continue to firm as it cools.
Leave a Reply